
Professional Stoma Care Guide: Step-by-Step Pouch Change, Sensitive Skin Management & Daily Tips
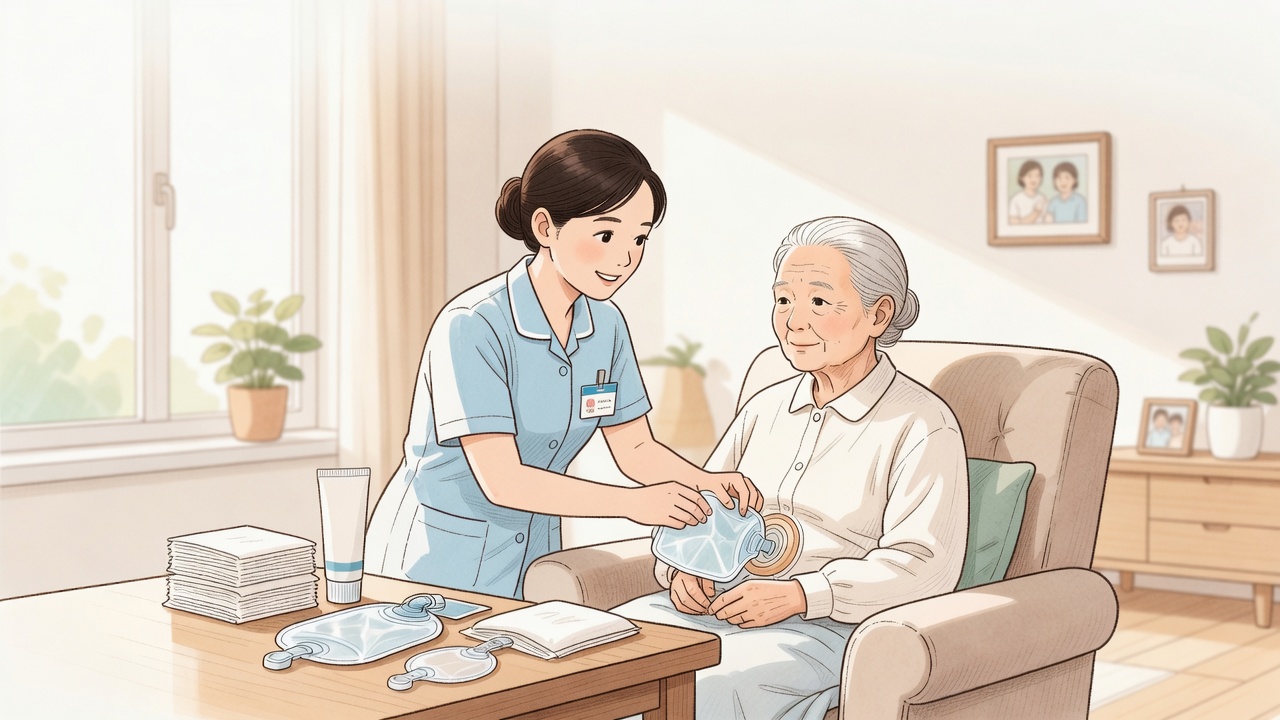
Caring for someone with a stoma can be overwhelming — especially when it comes to changing the pouch while worrying about redness, itching, or skin breakdown around the stoma. Mastering proper stoma care and pouch-changing techniques can significantly reduce leakage risks, protect the skin, and help both patients and caregivers regain confidence and quality of life. Let the professional team at Social Care Alliances walk you through the entire process step by step, sharing the most practical anti-allergy methods and daily care tips for peace of mind. 🧑⚕️
🔹 Understanding Stomas and Daily Care Essentials
A stoma is a surgically created opening on the abdominal wall that allows the intestine or urinary system to excrete waste. The stoma itself has no nerve endings, so it doesn't feel pain. However, the skin surrounding the stoma is particularly delicate. Prolonged contact with waste and adhesives can easily cause chemical irritation or allergic reactions. Every pouch change is therefore not just about replacing the bag — it's a comprehensive skin inspection and protection routine. Let's start from the preparation stage and walk through each step in detail.
🔹 Pouch Change Step 1: Preparation and Environment
Before starting, ensure the room is well-lit and at a comfortable temperature. Use a screen or curtain for privacy to help the patient relax. Gather all necessary supplies: new ostomy pouch, skin barrier film, stoma paste or barrier ring, lukewarm water, soft gauze or cotton wipes, measuring guide, and a disposal bag. Remember to pre-cut the new pouch baseplate to match the stoma shape, and keep several dry gauze pads on hand in case of sudden leakage. Being well-prepared brings peace of mind! 📋
🔹 Pouch Change Step 2: Properly Removing the Old Pouch and Skin Cleansing
Gently peeling off the old pouch is critical — never pull forcefully to avoid skin damage. Use a dedicated adhesive remover spray or warm-water-dampened cotton pads, starting from the edges. Use one hand to hold the skin steady while the other gently peels the baseplate away. Once removed, immediately cleanse the area with soft gauze or cotton wipes dampened with warm water, working in circular motions outward from the stoma. Avoid alcohol-based, oily, or fragranced wipes — these can irritate the skin and affect new pouch adhesion. 🧴
During cleansing, observe the stoma color. A healthy stoma should appear rosy and moist, similar to the inside of the mouth. If it appears dark red, blackened, or abnormally swollen, contact a healthcare professional promptly. After cleansing, gently pat dry with dry gauze, paying special attention to the folds at the stoma base. Ensuring the skin is completely dry before proceeding to the next step is fundamental anti-allergy care, significantly reducing the risk of skin problems.
🔹 Pouch Change Step 3: Peristomal Skin Protection and Anti-Allergy Care
Once the skin is completely dry, immediately establish a protective barrier. Apply skin barrier film evenly by spraying or wiping, allowing it to form a transparent protective layer that isolates waste and adhesive irritation. If there are uneven areas, scars, or creases between the stoma and surrounding skin, fill the stoma edges with stoma paste or use a barrier ring, pressing until snug. This step is key to preventing leakage and skin irritation. 💡
People with particularly sensitive skin can test adhesive reactions on a small patch of abdominal skin before applying the new pouch. If redness or itching already appears, immediately reinforce barrier film use and consider switching to a hypoallergenic ostomy product line. If the condition doesn't improve, seek professional guidance — Social Care Alliances has retired nurses and specialist nurses who can provide one-on-one home visits to teach proper techniques, reducing the risk of recurring skin damage.
🔹 Pouch Change Step 4: Applying the New Pouch and Inspection
Align the pre-cut new baseplate with the stoma, gently apply it, then use your palm to press the baseplate for thirty to sixty seconds, using body heat to help the adhesive conform to the skin. Finally, attach the collection pouch to the baseplate — a "click" sound confirms it's securely fastened. Check that the pouch isn't twisted inside, the vent valve is closed, and gently press around the baseplate edges to ensure no lifting. Once complete, ask the patient to move their body to confirm there's no pulling sensation or discomfort. 🚿
🔹 Dietary Tips for Stoma Patients
Diet directly affects stoma output. The basic principles are to chew food thoroughly and avoid swallowing excess air. Foods that tend to produce odors — such as onions, garlic, and eggs — can be consumed in moderation, and drinking plenty of water helps keep urine or stool loose to reduce odor buildup. High-fiber foods like corn, celery, and nuts must be finely chopped and thoroughly cooked before eating to avoid stoma blockage. If caregivers are busy with work but want their family members to enjoy fresh, balanced meals, they can consider ordering meal boxes designed for specific health needs. 🍎
🔹 Daily Life Tips for Stoma Patients: Exercise, Clothing, and Bathing
A stoma doesn't hinder normal life. You can shower with the pouch on, or remove the baseplate during a pouch change and rinse the peristomal skin directly with warm water. After bathing, remember to thoroughly pat dry before applying a new pouch. For exercise, start with low-intensity activities like walking or tai chi, avoiding vigorous sports that may directly impact the abdomen. Choose cotton, loose-fitting clothing that won't press against the stoma — high-waisted or elastic-waist trousers are more comfortable than tight jeans. Swimming is also fine — use a more waterproof ostomy pouch and wear dark-colored or patterned swimwear to make it less noticeable. Maintaining a positive attitude, continuing to socialize and go out as usual, greatly benefits both physical and mental well-being.